


Day 13: "Cone" earrings
The inspirational for “Cone” earrings is from one I had made many years ago when I participated in an exhibition at Craft Victoria. The piece was then was sold at egetal as necklace later in 2011.

Necklace (left) and flat bottom ice cream cone shape with mildsteel and silver
Back then I did many experiments with the size of the round perforation and its expansion when hammered. The original piece above on the left is one of the first big necklaces I ever made and there are four distinctive shapes involved, such as round tube, square tube, round short cylinder and this ice cream cone shape with flat base (I was trying to find a proper English word for this shape but I coudn’t find it) .
The definition of a cone according to the dictionary is “a three-dimensional geometric shape that tapers smoothly from a flat base to a point called the apex or vertex. A cone is formed by a set of line segments, half-lines, or lines connecting a common point, the apex, to all of the points on a base that is in a plane that does not contain the apex”.
The tools I used for shaping the cone are a big metalsmith anvil, hammer, oxygen torch for annealing, jeweller’s saw and round template. First of all I cut one round shape (diameter around 50mm), made a hole in the middle then annealed the metal for hammering into two cone shapes over wrapped. Last step was separating the two cones by sawing.

Disc that has one hole in the middle and 2 cone shapes hammered.
I considered a couple of different options for their wearability. They are identical shapes so they definitely will be earrings but the hooks I normally use won’t be suitable. It was important for the earrings to have counterbalance of the weight when they are worn so I added small hoops that penetrated the shape and made them into stud earrings.
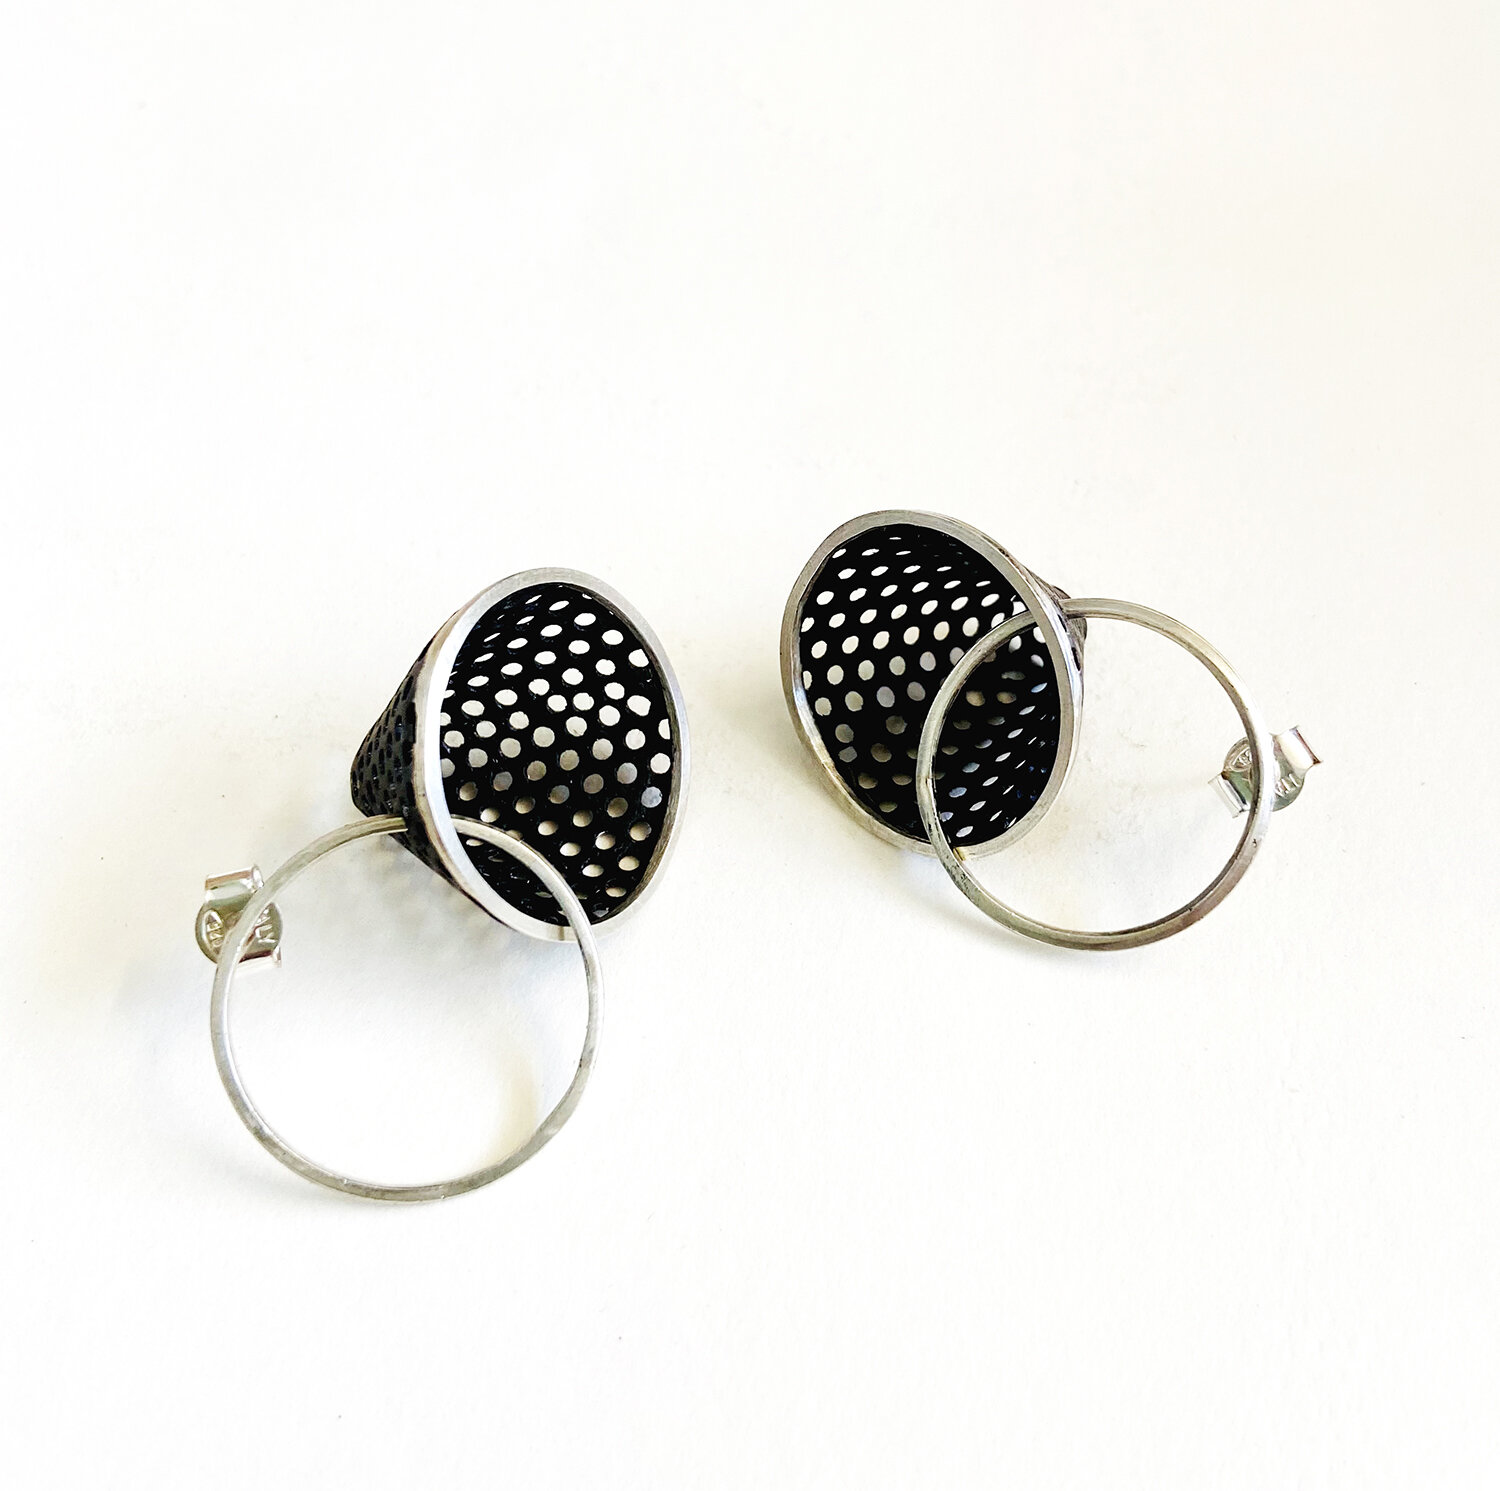
Cone stud earrings with the round hoops penetrating the shapes. mildsteteel and silver


“Cone” when it is worn.
“콘” 귀걸이의 영감은 수년 전 만들고 크라프트 빅토리아의 한 그룹전에 참가하여 결국은 이지에탈에서 팔린 한 형태에서 온다. 그때는 동그란 천공 무늬의 크기와 망치질 후 어떻게 이 원이 확장되는가를 여러형태를 통해서 실험하였다. 위 이미지 왼쪽은 내가 거의 처음 만든 큰 형태의 목걸이인데 그림을 보면 알 수 있듯이 둥근 튜브, 사각튜브, 짧은 실린더 형태의 구조물 과 베이스가 납작한 아이스크림 형태의 원추 등 네가지 두드러진 형태를 볼 수 있다.
콘의 정의는 사전에 따르면 “ 납작한 바닥에서 서서히 그 삼차원의 형태가 줄어들어 결국은 꼭짓점 라고 불리는 점에 도달하는 형태. 원추는 반직선 혹은 꼭짓점을 연결하는 선들의 집합이 모두 꼭짓점을 포함하지 않는 평면의 아랫부분의 토대에 이르는 것으로 구성된다” 고 나와 있다.
이런 콘 형태를 만들기 위해서 내가 사용한 공구들은 금속공예에 사용되는 큰 모루, 망치, 금속 열풀림을 위한 산소토치, 귀금속 공예가를 위한 톱 과 둥근자 등이다. 우선 원주 약 5센티미터의 둥근 형태를 자르고, 중간에 구멍을 뚫고, 천공된 연강철을 열풀림 하여 2개의 콘 형태가 중첩되게 만들어 보았다. 마지막 단계에서 이 중첩된 콘 형태를 톱을 이용해 분리시킨 것이다.
이 두 콘 형태의 착용성을 고려해 보건대 이 쌍동이 원추들은 틀림없이 귀걸이가 될 예정이나 내가 보통 사용하는 걸이 형태의 귀걸이는 적합하지 않았다. 그리하여 결국 둥근 링을 완성된 콘 형태에 관통시켜 이 링을 스터드로 귀에 고정시켰다. 착용시에는 무게의 상호균형을 이루도록 하는 것이 중요한 점이다.

