Steel tales: Crafting the Unseen No.6-The fourth story behind "Wrought"
Silver Inlay in Perforated Steel
Silver inlay in perforated steel involves filling the perforations in the steel with silver, combining the strength and resilience of steel with the refined elegance of silver to create a striking visual effect. Below is an outline of the process:
1. Preparation
Clean and prepare the steel surface to ensure it is free from rust, oil, or other contaminants.
2. Perforating the Steel
Ensure the perforations are uniform and cleanly cut to facilitate the inlay process.
3. Preparing the Silver
Prepare silver round wire in thicknesses of 1mm, 1.2mm, 1.5mm, and 2mm. Saw the wire individually, ensuring it matches the thickness of the perforations in the steel.
4. Inlaying the Silver
Carefully insert the silver pieces into the perforations. They should fit tightly to prevent gaps or loose sections.
5. Securing the Silver
Depending on the design and application, secure the silver either by using pressure with pliers or by hammering the edges of the silver to expand and lock it into place.
6. Soldering
Solder the silver to the steel using hard solder, following a process similar to the "marriage of metal" technique.
7. Cleaning
File and clean the entire piece to ensure a smooth, seamless finish. This may involve buffing both the silver and steel surfaces.
8. Sandblasting
Apply a protective coating using sandblasting to prevent tarnishing of the silver and rusting of the steel.
This technique requires precision and skill to ensure that the silver is securely inlaid and that the final product is both aesthetically pleasing and durable.
Note: I have found that forming pieces such as domes, oval domes, and bangles should be done before inlaying the silver. Otherwise, it can negatively affect the thickness of the final work, making it too thin, which is not ideal.
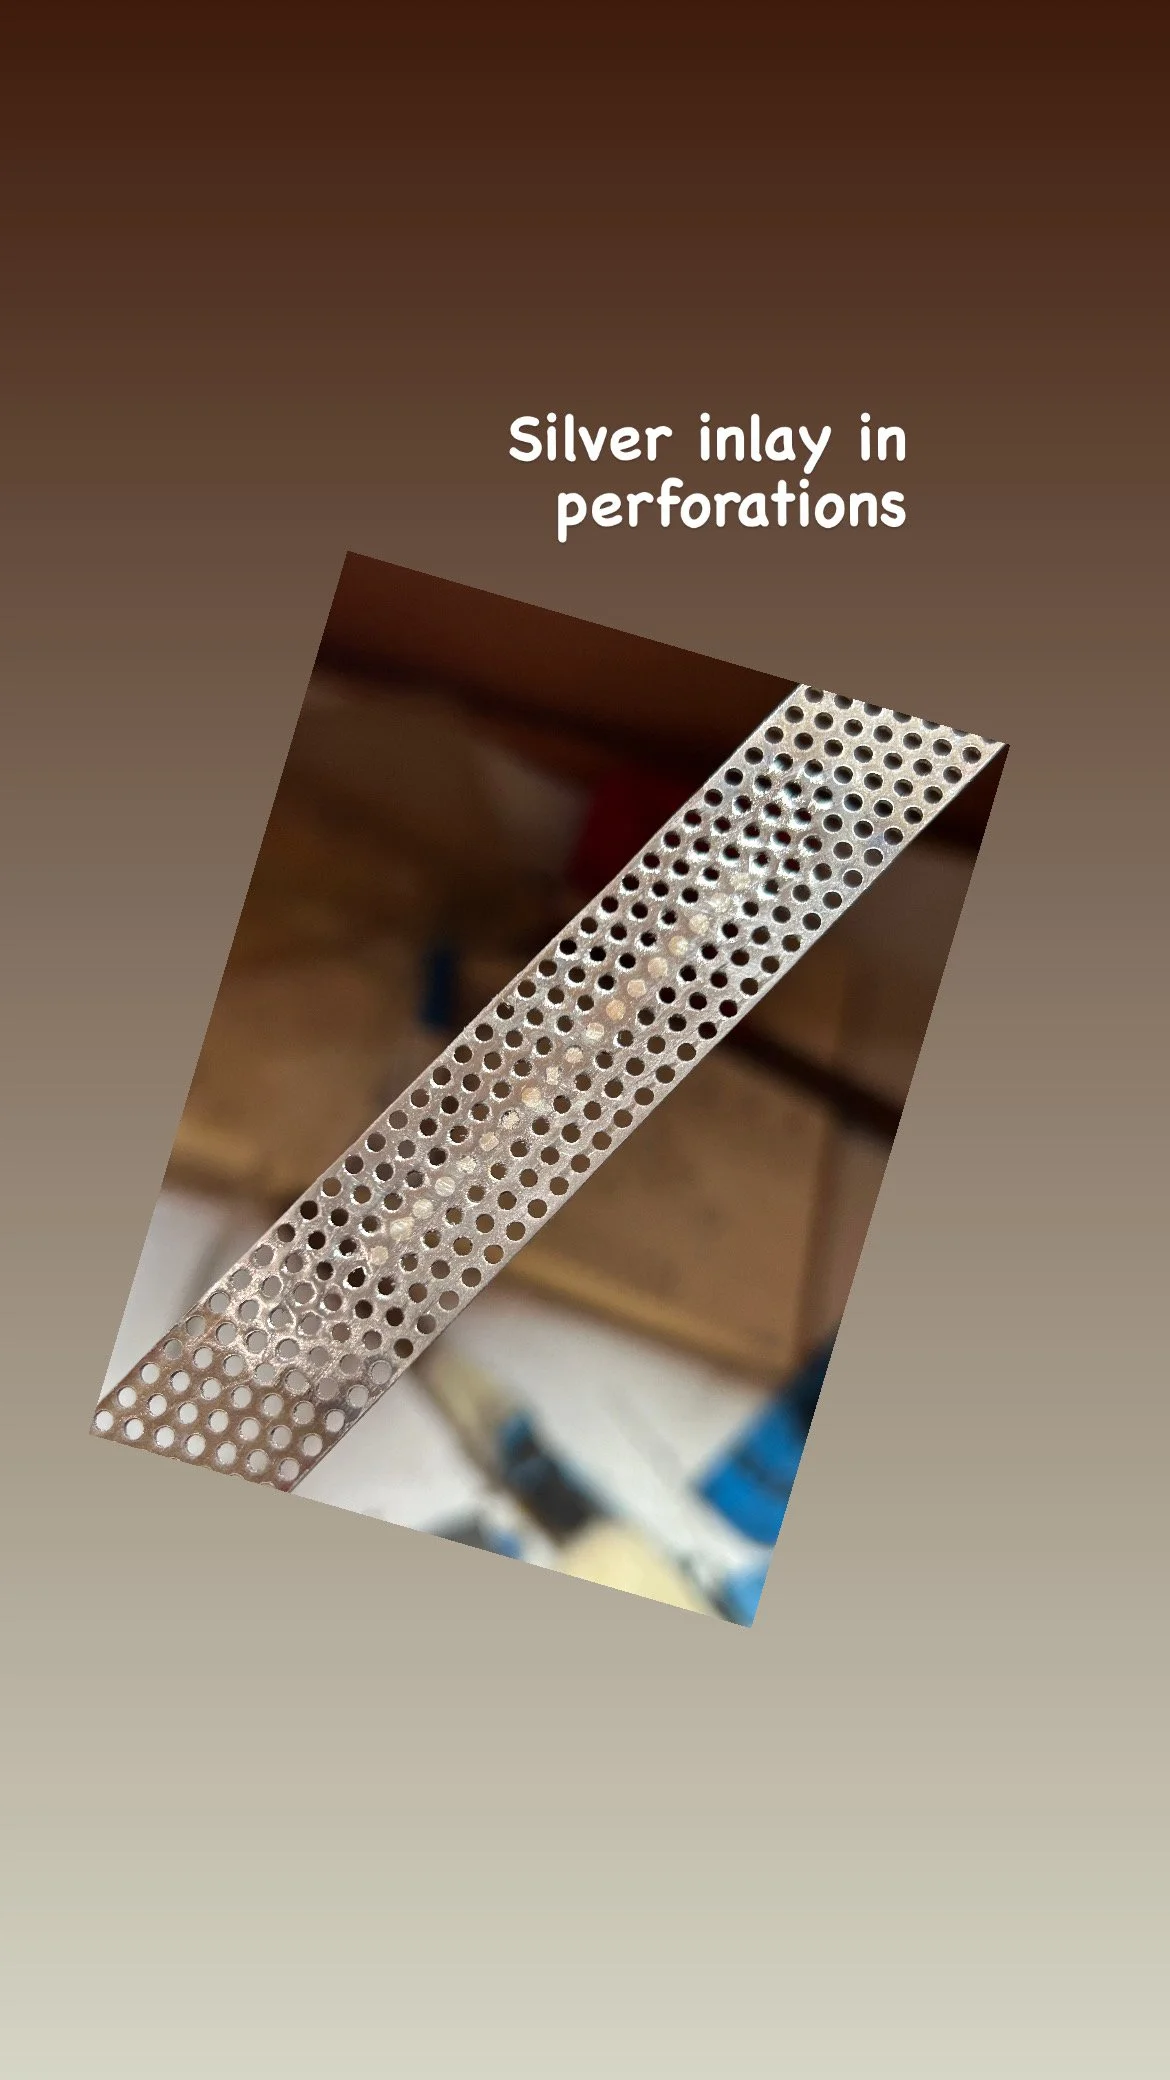
Right after inlaying silver into steel perforation
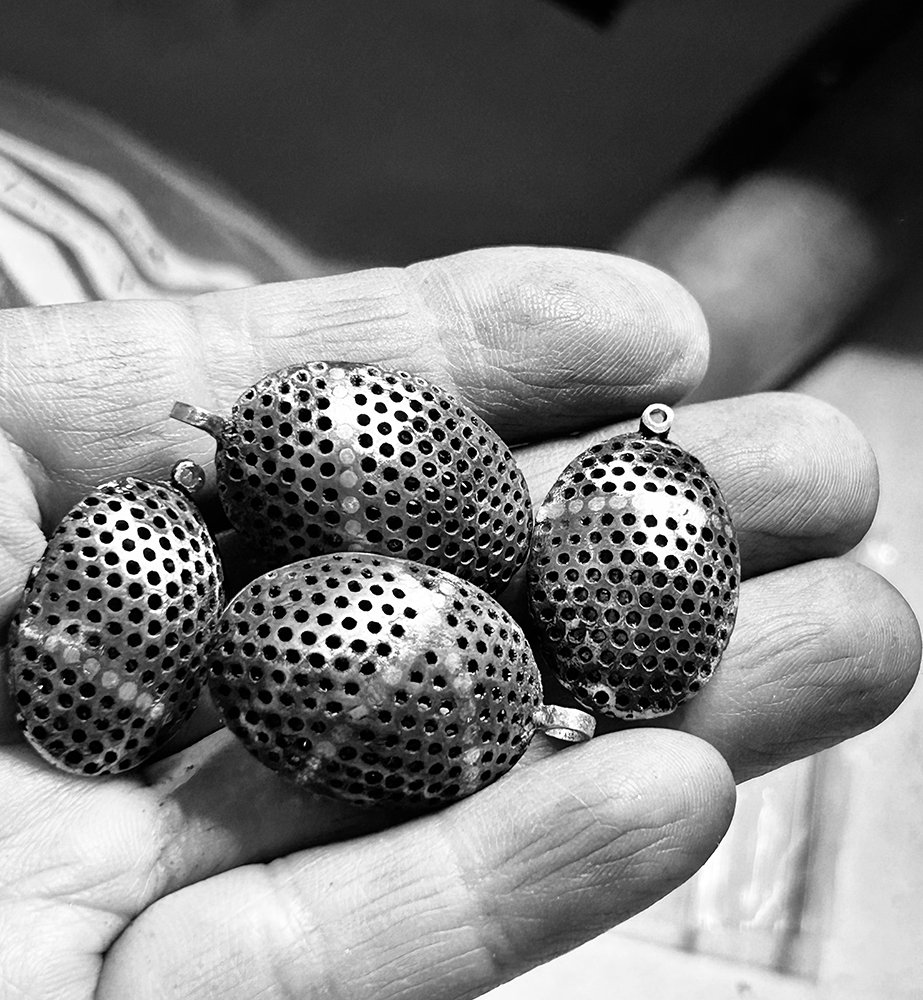
silver inlayed oval dome pieces


